Incubation · INC-176-DP
176-egg dual-power incubator
The largest model in the range, arranged across three levels for regular hatch operations.
Why this format
Capacity for the next step.
- 176-egg capacity across three levels
- Dual 220V AC and 12V DC power
- Three hatching nets and cycle monitoring on the panel
Manual data · 2025-05-26
What this model actually does.
Functions checked against the manual for this capacity. The equipment adds water, but does not regulate humidity automatically.
- Humidity display
- Yes
- Humidity control
- No
- Turning interval
- Every 90 min
- Rollers supplied
- 25
- Hatching nets
- 3
- Middle levels
- 2
- Species programmes
- 4 + constant mode
- Electrical version
- Dual power only
Lightweight start · mobile ready
Before the first egg.
Essential manual checks, summarised without video, a carousel or a required download.
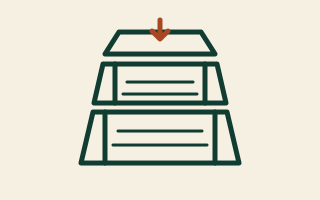 01
01Assemble the 3 levels
Secure the walls and support bar, align each level, then install the rollers and their cables before fitting the heated cover.
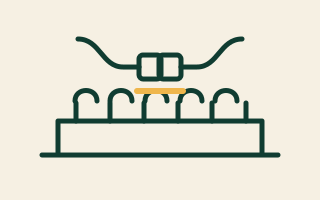 02
02Install the rollers and connect the turner
Space the rollers for the egg size, then connect every low-voltage plug inside. The rollers cannot turn without this connection.
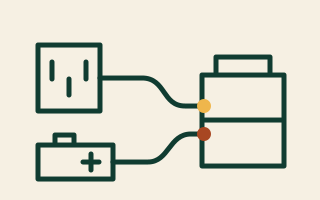 03
03Choose one power source
Use 220V AC or a correctly sized 12V battery. The battery is not supplied; respect polarity and protect the circuit.
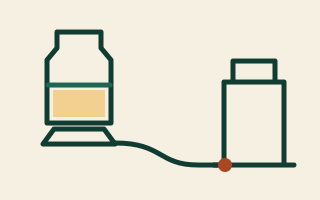 04
04Connect the external water supply
Fill the bottle, connect the tube and check its level every day. The display measures humidity, but the machine does not regulate it.
 05
05Test before loading eggs
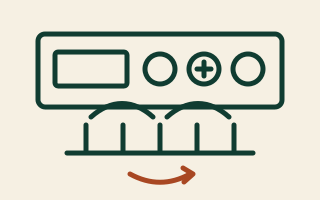
Run the machine empty, check temperature with an independent instrument and press “+” once to observe the slow roller movement.
 06
06Prepare the hatch phase
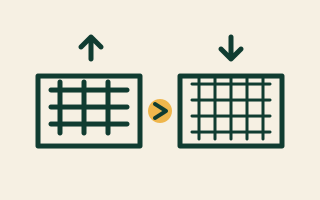
At the time specified for the species, stop turning, remove the rollers and fit the hatching net. Keep the designed air openings clear.
It explains machine setup. For temperature, humidity, ventilation and timing, use the protocol for the species and verify readings with reliable instruments.
Read the cycle guide →Market access
Current links by country.
No verified purchase or local contact channel is listed for the selected country. CASECHO publishes a channel only after checking its destination and responsible contact.
Contact CASECHO about distribution →